
1. This first thing you'll want to if you are downloading someone else's curve preset from the internet is follow the file sharing link they give you. I've used the hosting site MediaFire which I can personally vouch for and have used several times. Be sure to save the curve (which will be an .acv file) somewhere that is easy to access, such as your desktop or the downloads folder of your computer if you prefer. My curve is called "festival" and the link can be found here: festival.acv.
2. When you have your photograph open in Photoshop, be sure that the Adjustments panel is visible in your window. Simply click "Adjustments" if there is no check beside it and the panel will appear.

3. Now that the Adjustment panel is showing, locate the curves icon and give it a click as well. In Photoshop CS5, mine is always the third from the left on the top row.

4. Now that the Curves adjustment tab is open, play around with it a little bit to see what you change. By using the eyedropper tool on the left of the curves panel, you can select a certain point in the picture and drag up or down to make adjustments. That's a very basic explanation of what's going on, but it can cause some fun or crazy results. I usually work with each color channel (red, green, or blue) separately to get my desired results.
5. After playing around a bit to get comfortable, you can upload the curve preset that you downloaded earlier. There's a drop down menu icon in the top right of the curves panel. Click this and select "Load Curves Preset..."

Your files will then pop up. I have the curve saved to my desktop, so it's the default menu that comes up. All you do is click the .acv file, click open, and then read on to the next step.

6. Now the Curve preset will be in the menu of preset options that you can choose. Sometimes I use the Photoshop defaults to darken or lighten a picture or create more contrast. This Curve primarily focuses on changing the colors a bit to give the picture a rosy, pink glow in the highlights and a bit of a blue undertone in the shadows.


7. Once you click on the Curve in the drop down list, the changes might take just a second to load, but for the most part should be fairly instantaneous. The Curve graph and layers should look like this and your picture should be edited.

8. Sit back and admire the beautiful colors of your newly edited photograph! Here's a comparison of the picture that I used as an example with and without "festival".
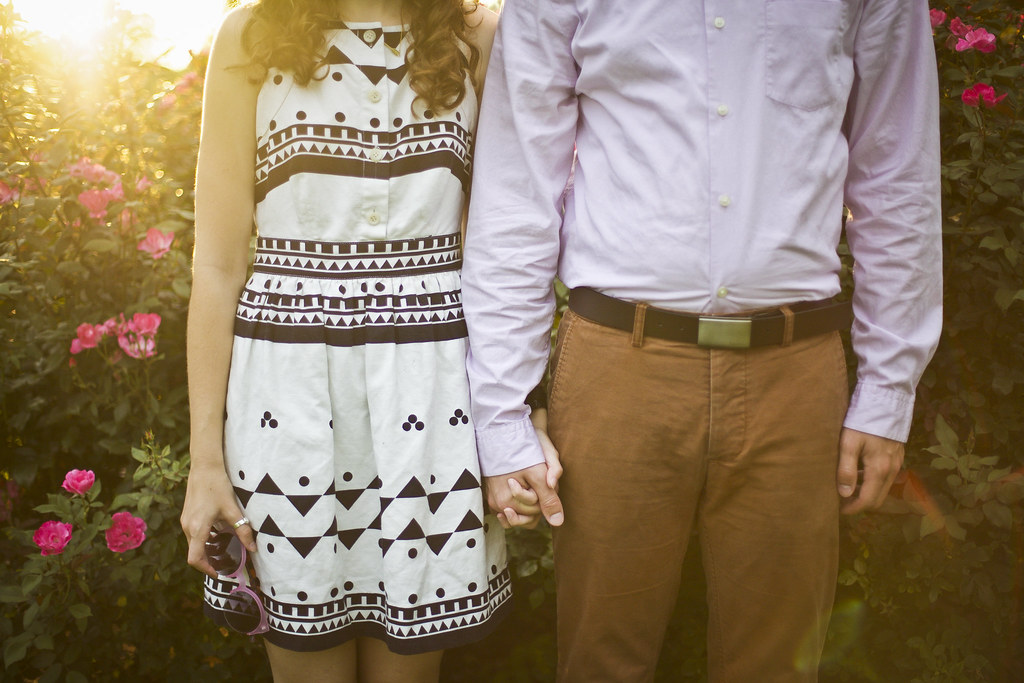
Original.
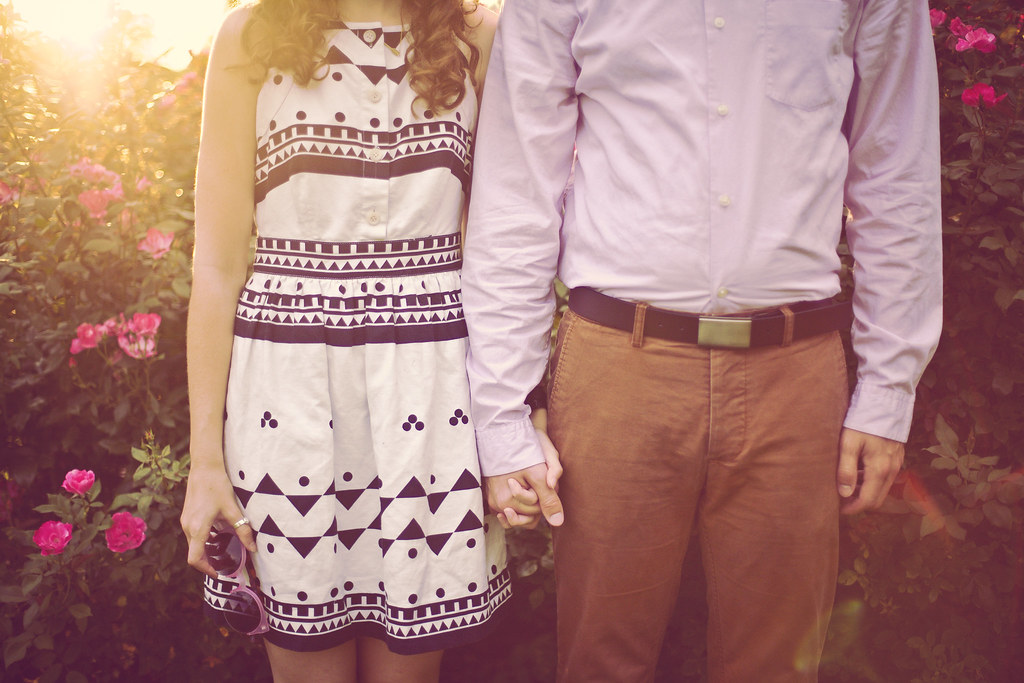
Edited with "festival".
The curve is more subtle with warm, backlit pictures. However, if you want to use the curve on a picture that isn't backlit, it would look more like this:
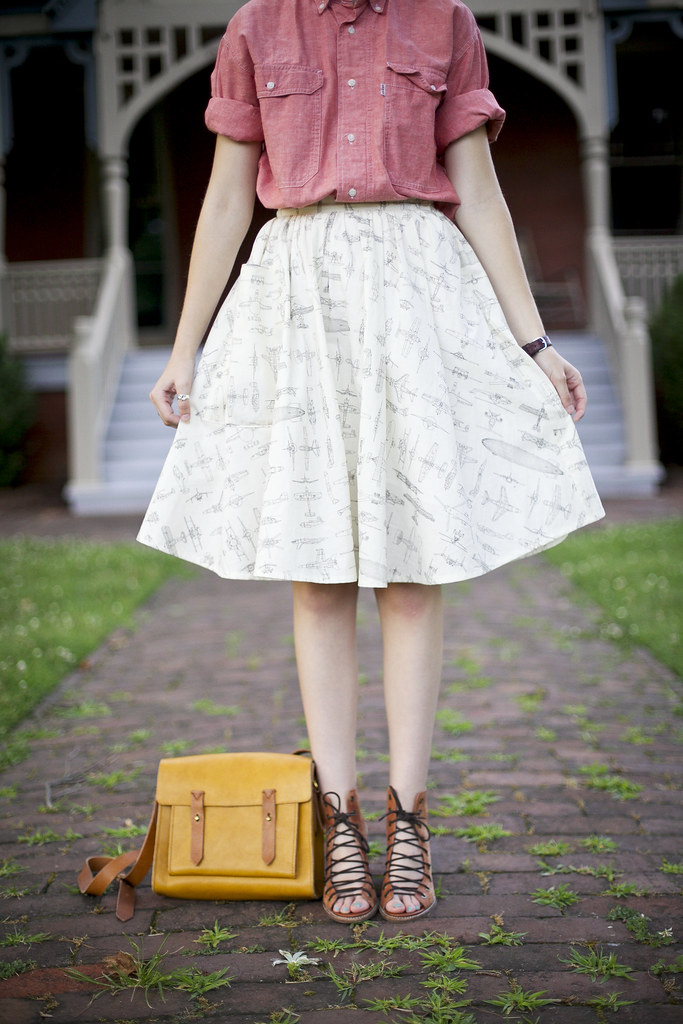
Original.
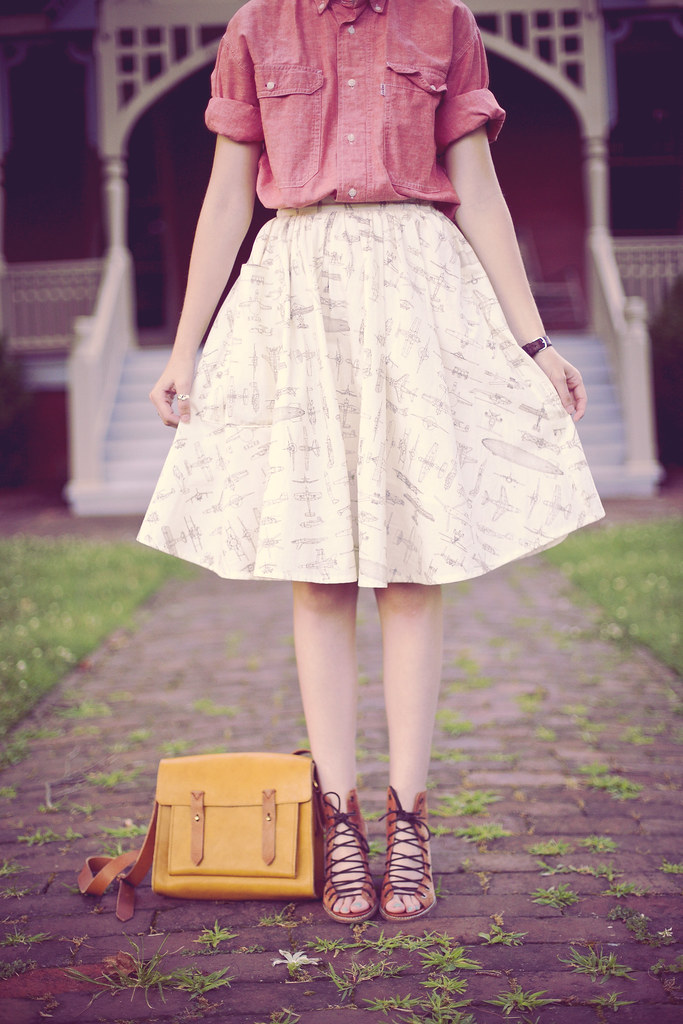
Edited with "festival".
I hope that this post inspires you to use the Curves feature to your full advantage when editing your beautiful pictures. I first learned about Curves from the photographer Julia Trotti who not only has stunning images, but also shares several free curves on her blog, here. Please let me know if you have any questions by commenting on this post, emailing me (aektriplethread@gmail.com), or letting me know on Twitter (@trippplethread). I can't wait to see how you use this Curves preset that is one of my personal favorites, so please don't hesitate to link your edited pictures below!
3 comments:
Hey great post!! Cool.Following via Bloglovin.
Ali of
Dressing Ken
Great post about curves. Your curve "festival" is so beautiful! <3
Love love love how you edited these shots! Thank you for this wonderful tutorial!!
Xo, Hannah
sweetsweetnoir.net
Post a Comment
Thank you kindly for taking the time to comment! I sincerely make an effort to respond to each, and visit each blog in return.